
Music relaxes the minds and gives intense peace to the heart & soul and the best medium to access music is the smartphone. Perhaps, an Android phone is the handiest device that gives the ultimate pleasure of music. Since with time music changes and mood swings, and most music lovers look for a way to delete the existing playlist to create a space for a new one.
Moreover, if you want to sell your Android phone, then also you will like to delete your audio playlist just because of the reason for the privacy or might be you don't want to share the playlist with others. So, at this point, you must have a proper channel to delete audio on Android completely. Well, there are various methods available in the digital platform but here you will get the 4 best methods to delete audio on Android phone. let's step down and have a look at the methods to accomplish the task.
- Part 1: Why Deleting Audio Files on Android
- Part 2: How to Locate Audio Files on Android
- Part 3: Easily Delete Audio on Android from Google Play Music
- Part 4: How to Delete Audio from My Files App
- Part 5: Delete Music Files on Android Directly from PC
- Part 6: Completely Delete Audio on Android Phone (Best Choice)
Table of Contents
Part 1: Why Deleting Audio Files on Android
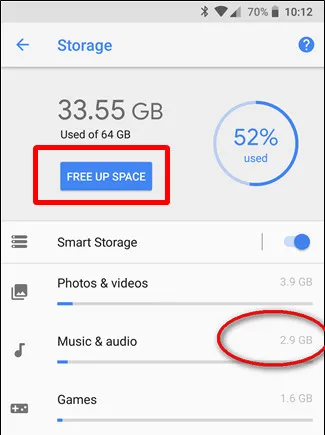
Enjoying music is one of most common activities with Android smartphone. Your phone may be loaded with hundreds of songs and ends up eating the free space sharply. If the free storage decreases to a small amount, then it could cause Android phone running slowing and unable to do advanced tasks such as playing with new games. So it is necessary to delete music files from Android to free up the storage.
Another reason is that there are many duplicate music files on the same device if you were using more than one music apps. Also, it is reasonable to delete those music that you don't like anymore or clean up the ones with low quality.
Part 2: How to Locate Audio Files on Android
The first move to delete audio files on Android is to find the location where music files are stored. However, this depends on how many apps , especially music apps, are installed on your phone. Each app that produces music file has its unique location to save audio files in both visible or invisible ways. So it is extremely hard to fully find all music files on Android phone and this makes the deletion tasks more challenging.
The most recommended way is to use third-party software to automatically locate the music files on Android by scanning all folders. After that, all audio files are displayed in central place for further actions, such as deleting. We will cover this trick at the end of this post.
Part 3: Easily Delete Audio on Android from Google Play Music
Android OS is owned by Google and many Google services/apps are shipped with Android OS in default. Google Play Music is the one among the list. Basically, it is the most popular music app for downloading, uploading and playing music on Android phone. If you are using Google Play Music app extensively, then this method will help you to find out the audio that you want to delete on Android. This is the basic method and let's see the detailed steps and the result.
Step 1. Unlock your Android smartphone and then launch Google Play Music App from the menu.
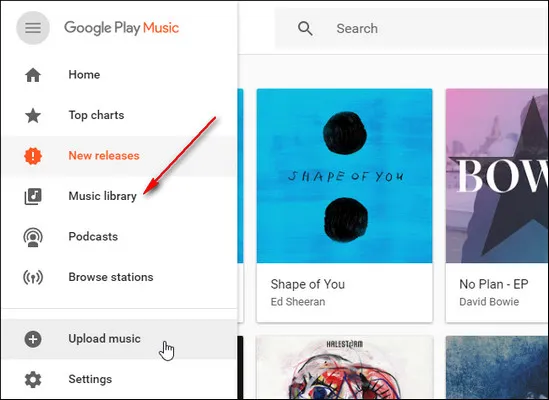
Step 2. Tap on the three horizontal bars symbolized with the menu and further tap on 'Music Library'.
Step 3. You will get a few options at the top of the menu bar, tap on songs to see the list of songs enclosed in your phone.
Step 4: Now, select the song and further tap on the 'Delete' button.
Voila! Your job is done. This is one of the most convenient way to delete audio on Android phone. And it should be the best if you are using Google Play Music app only.
Part 4: How to Delete Audio from My Files App
However, if you don't use Google Play Music App on your Android phone, then with the help of My Files or File Explorer, a new file manager app on modern Android phones. This kind of file management app gathers all files into categories so you can easily locate and delete audio from Android phone. However, this is not available on old Android devices. If you could find it on your phone, then please go head with the following tips to complete the deletion task.
Step 1. Unlock Android phone and open My Files app. It may be with a different name for different brands of Android phone.
Step 2. Here, you will get the details of all apps including audio, images, videos, and many more.
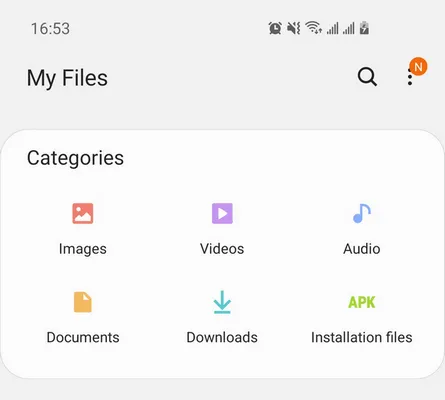
Taken from Samsung Galaxy smartphone
Step 3. You need to tap on Audio name that is listed in the Categories section to enter into details page. Moreover, the Playlist option is also featured in the Internal Storage of Android Phone, you can go with any of these two options.
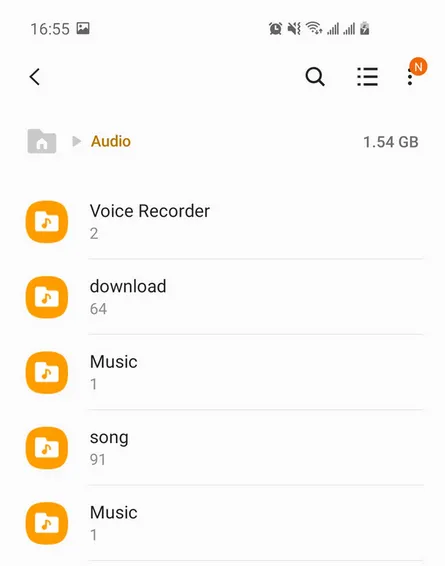
Step 4: After getting the list of audios, press and hold the one that you want to remove and further tap on the Delete button. In this way, you can delete audio on Android phone.
Google Play Music App is a great application that gives ample music options to the users and also enables them to filter the music as per their choice by removing the older one. Though this app is not used by many Android users, so My Files or File Explorer method is listed because it is mostly found in the Android phone, but the method is a bit complicated one.
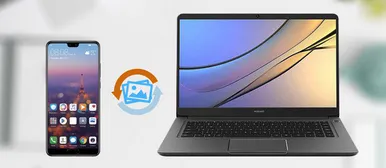
Part 5: Delete Audio on Android Phone Directly from PC
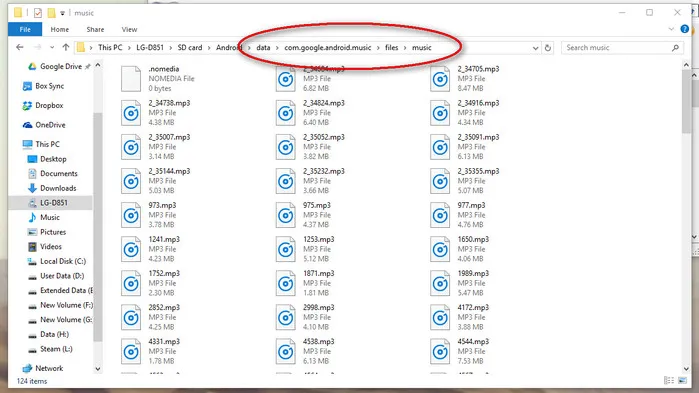
Connecting Android phone to a PC via USB cable is the recommended way for file transfer between Android phone and computer. When Android phone is recognized by computer, it will show all content of Android phone in a folder structure, which is the same as Windows File Explorer. You can enter into each app folder and find out the music file. After that, you can directly delete audio file on Android with the mouse.
For old Android phones, the music files are saved in SD Card. You can remove SD card from Android phone and then insert it into your computer through a card reader. After that, you can see the contents of SD Card on your computer.
Step 1. Connect Android phone to the computer via USB Cable.
Step 2. At the notification screen, you will get a USB connecting option with PC, tap on it, and further select 'Transfer files' option.
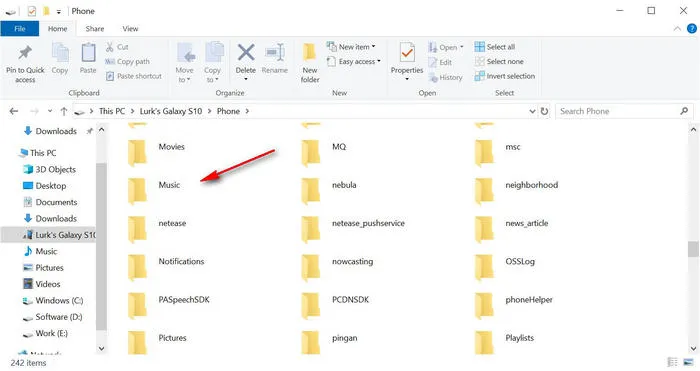
Step 3. Now, move to the PC, open My Computer, and then click on the Phone icon.
Step 4. After getting into the folder that contains audio files you want to delete. select them, and further click on the Delete button.
Step 5. Select audio file and right click to delete them from Android phone.
This method is a conventional way to delete audio on Android. But you will have to give more effort to find out music files. It is also possible that you don't remember where you kept the audio, might be it is SD Card or in phone's internal memory, so you will have to look for both the folders and that consumes more time.
Part 6: Completely Delete Audio on Android Phone (Best Choice)
Till now, you might have noticed that all the methods are manual and to get the result, you will have to put much moreeffort on this simple task. To get a smooth experience with it, we recommend using FoneMoz DroidErase instead. It is advanced software that will complete delete audio on Android in much less time because it assembles the data in a sequential manner that helps you find audio files on Android more quickly. File deleting with DroidWiper is completely automatic and gives advanced security features such as Low, Medium, and High.
Moreover, audio deleted bythis tool won't be retrieved by Android data recovery software. This is an amazing feature when you want to erase data on Android before selling it to someone because the hidden data will be removed by default. Also, you have an option to wipe out entire Androidy phone within the same software.
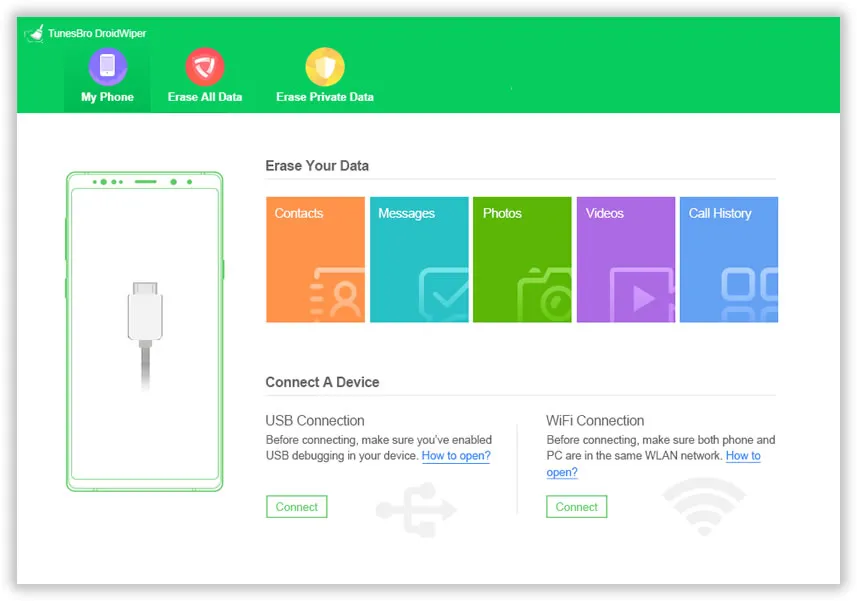
Step 1 – Install DroidErase and Connect Android Phone
The initial task for you is to download and install FoneMoz DroidErase on your computer. Next, connect your Android phone with the computer through a USB cable and then launch FoneMoz DroidErase.
Step 2 – Enable USB Debugging on Android
Unlock Android device, open Settings, and then move to the About Phone section. Here, you will get Build Number, tap on it around 6-7 times to enable Developer mode. Once Developer mode gets activated, move to the Settings and tap on Developer Options to enable Debugging feature. Once it is done, you will see the brief information of connected Android device on screen.
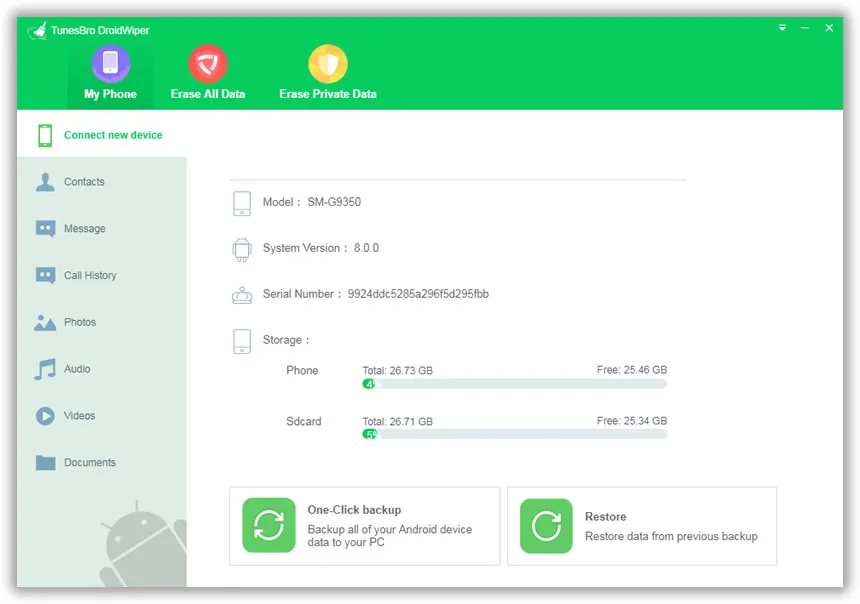
Step 3 – Scan All Audio Files on Android Phone
On the main interface of this software, you will get a few options at the top of the menu bar, click on the My Phone icon. Thereafter, you will get a few options at the left panel of FoneMoz DroidErase, click on 'Audio'.
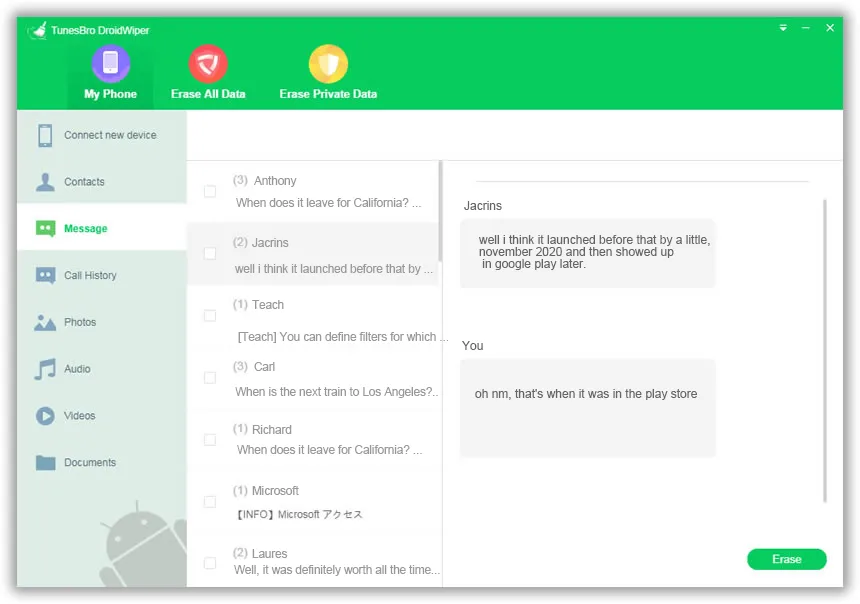
Step 4 – Delete Audio on Android Completely
Now, select the audio files that you want to remove from Android phone and further click on the 'Erase' button to confirm the data erasing option. Please double check the files you want to delete. The files will be gone forever once it is erased by DroidErase. Within no time, the audio will be wiped out from Android phone.
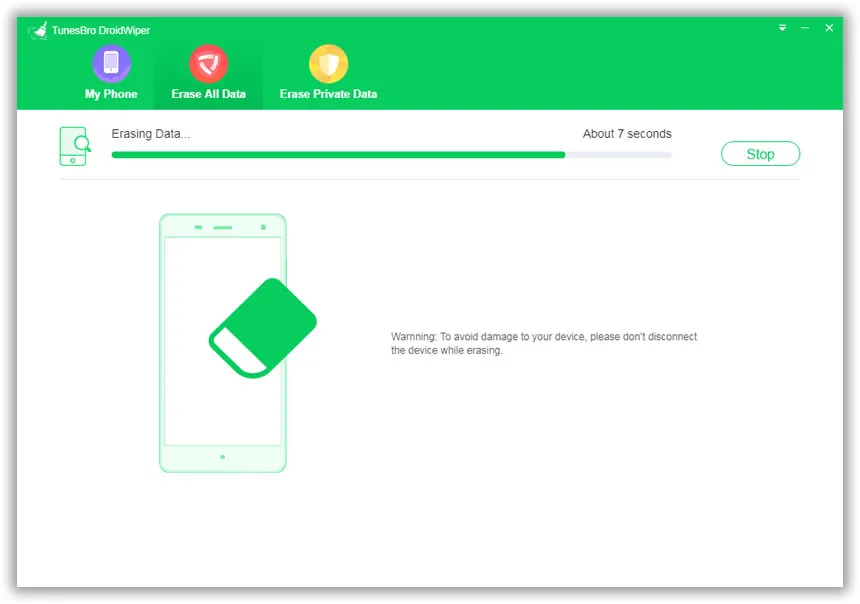
FoneMoz DroidErase is the software of next-generation to perform data deletion task in a smooth way. More importantly, it leaves no loop-holes. If you want to sell Android phone then you can wipe all data by choosing 'Erase All Data' option and once the data is deleted, then it won't be recovered by any tool. So this is a safe and complete data wiping software.
Conclusion
We have summarized four different was to delete audio on Android completely. However, from the first and the second method, there may be a possibility to retrieve deleted music files from Android because the process is not safe. But in the last method, there is no chance to get audio recovered. Hence, choose the method wisely and perform the task securely.
Android Transfer